SpringBoot中使用配置
一、配置文件
SpringBoot使用全局的配置文件,配置文件名是固定的
- application.properties
- application.yml
使用配置文件可以更改系统自动配置的默认值,比如端口号等信息。
YAML
yaml以数据为中心,比xml,json更适合做配置文件。
YAML与properties对比
YAML:
1 | server: |
properties:
1 | : 8080 |
YAML语法
- 基本语法
k : v 表示一对键值对 「中间需要有空格」,以空格的缩紧来表示层级关系,使用左对其的数据都是一个层级的。
例如下面代码中的port和path是一个层级的。
1 | server: |
- 值的写法
- 字面量
key : value 字面量直接写,并且字符串不需要添加引号,类似properties。如果添加引号会有特殊的意义。
双引号: 不会转义特殊字符
单引号: 会转义特殊字符,最终会转义成普通的字符串输出
对象
非行内写法 -> key : value 对象一样按照key,value来写
1
2
3person:
firstName: zhang
lastName: san行内写法
1
person:{firstName: zhang,lastName: san}
数组(list,set)
使用 - 来表示数组中的一个元素
1 | person |
使用yml配置文件进行配置
编写bean对象
1 | import lombok.Data; |
使用configurationPropertis配置类
根据bean对象在application.yml文件中编写如下yml内容:
1 | person: |
使用SpringBoot的单元测试
在测试文件夹下建立DeepSpringBootApplicationTest测试类。
1 | /*** |
如果需要使用上面的代码进行SpringBoot的单元测试,需要在pom.xml文件中添加如下内容:
1 | <dependency> |
最后运行刚才的测试类,得到的结果是:
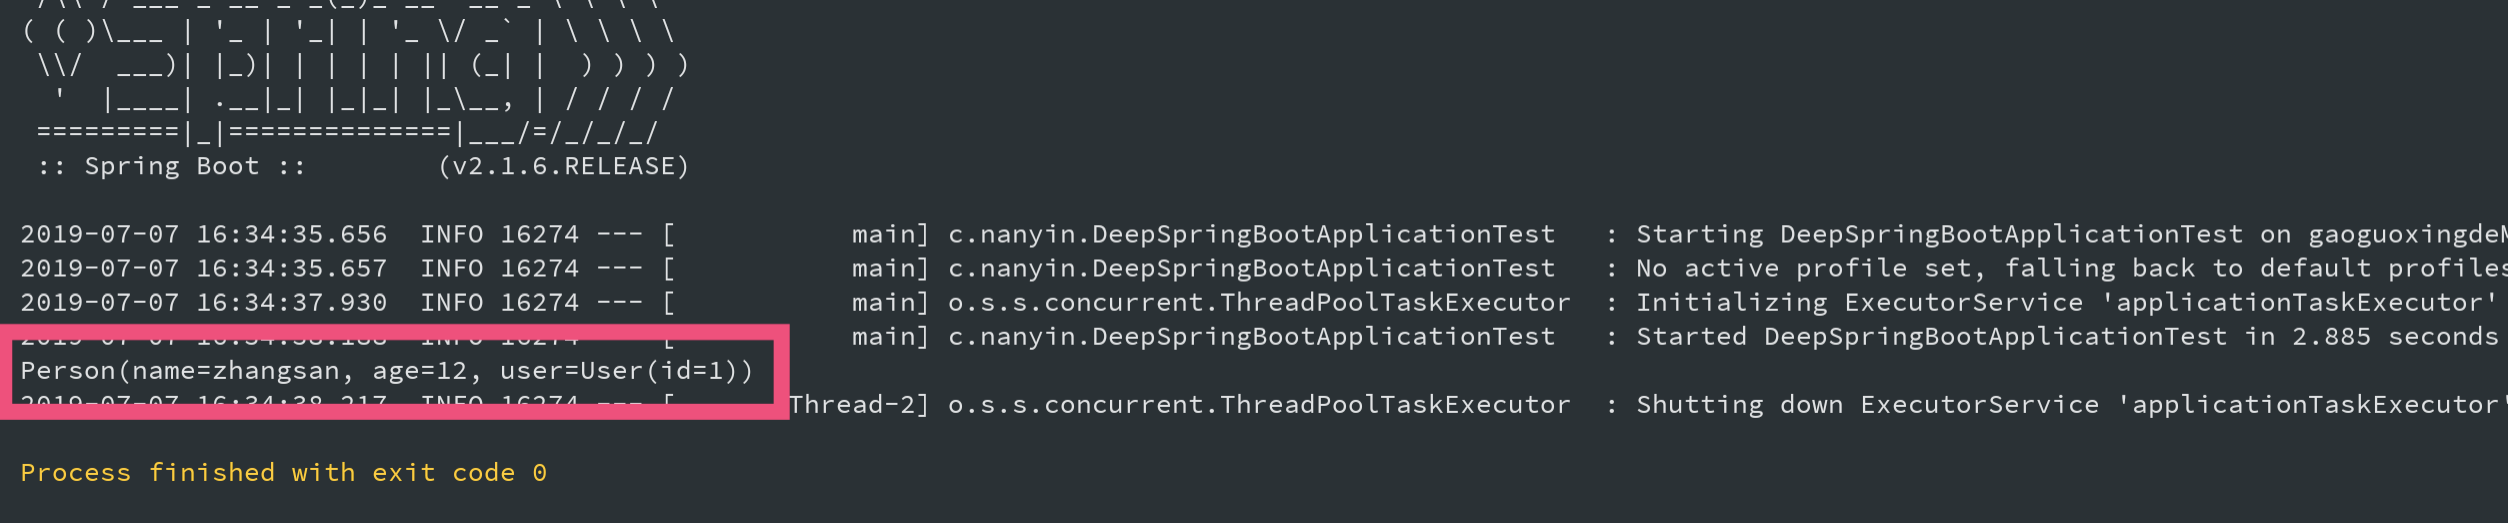
通过运行结果可知道,使用application.yml文件编写配置信息成功的放到Person这个类中。
PropertySource
上面使用yml文件,通过configurationPropertis对Person进行了配置。
configurationPropertis它会从全局配置文件application.yml配置文件中的配置。但如果指定某个具体配置文件中的配置呢?
答案是PropertySource注解
使用properties文件
在classpath路径下新建要个
person.properties文件,文件内容如下;1
2
3= 12
= 2
=zhangsan在原来的基础上添加PropertySource注解
1
2
3
4
5
6
7
8
9
10
// 指定使用到的配置文件,这里的value可以是数组,也就是可以加载多个配置文件
(value="classpath:person.properties")
(value = "person")
public class Person {
private String name;
private int age;
private User user;
}运行结果和上面测试结果的相同。
使用yml文件
使用yml文件作为配置文件时,与properties文件略有不同,是因为PropertySource实际上上默认是不支持yaml文件的。所以如果使用yml文件就需要略加改造。经过一番谷歌后。
PropertySourceFactory是spring 4.3之后出现的为PropertySource的工厂接口,注解默认使用的是DefaultPropertySourceFactory来创建ResourcePropertySource对象。spring通过
YamlPropertiesFactoryBean来加载yaml文件。这个类可以将一个或多个文件加载为java.util.Properties对象。1
2
3
4
5
6
7
8
9
10
11
12
13
14
15
16
17
18
19
20
21
22
23
24
25
26
27
28
29
30
31
32
33
34
35
36package com.nanyin.config;
import org.springframework.beans.factory.config.YamlPropertiesFactoryBean;
import org.springframework.core.env.PropertiesPropertySource;
import org.springframework.core.env.PropertySource;
import org.springframework.core.io.support.EncodedResource;
import org.springframework.core.io.support.PropertySourceFactory;
import org.springframework.lang.Nullable;
import java.io.FileNotFoundException;
import java.io.IOException;
import java.util.Properties;
public class YamlPropertiesFactory implements PropertySourceFactory {
public PropertySource<?> createPropertySource( String name, EncodedResource resource) throws IOException {
Properties propertiesFromYaml = loadYamlIntoProperties(resource);
String sourceName = name != null ? name : resource.getResource().getFilename();
return new PropertiesPropertySource(sourceName, propertiesFromYaml);
}
private Properties loadYamlIntoProperties(EncodedResource resource) throws FileNotFoundException {
try {
YamlPropertiesFactoryBean factory = new YamlPropertiesFactoryBean();
factory.setResources(resource.getResource());
factory.afterPropertiesSet();
return factory.getObject();
} catch (IllegalStateException e) {
// for ignoreResourceNotFound
Throwable cause = e.getCause();
if (cause instanceof FileNotFoundException)
throw (FileNotFoundException) e.getCause();
throw e;
}
}
}实现上述代码后,在配置类中的PropertySource中添加
factory1
2
3
4
5
6
7
8
9
10
11(value={"classpath:person.yml"},
factory = YamlPropertiesFactory.class)
(prefix = "person")
public class Person {
private int id;
private String name;
private int age;
private User user;
}yaml文件文件中的内容.其中使用
${xxx}的结构可以调用其他属性的值,这里user的id值就是直接使用person的id值。1
2
3
4
5
6person:
age: 12
id: 2
name: zhangsan
user:
id: ${person.id}二、配置类
在原来使用Spring时,繁多的xml让人头疼。而在SpringBoot中,推荐使用类的方式代替xml等配置文件,改用注解的方式。
创建一个类,类名为
MyConfig为类标注为
@Configuration将需要引入到容器中的bean作为返回值写到方法中,其中方法的名称就是容器中bean的名称。
进行测试,容器中加载到了这个配置类中配置的bean
1 | // 标注@Configuration注解,表示这个是Spring的配置类,用来代替配置文件如 xxx.xml |
将HelloService手动通过配置类的方式添加到容器中,作用和使用xml的方式一样,但是更简单,更容易看懂。
